Death Mountain
For The Legend of Zelda: A Link to the Past & Four Swords on the Game Boy Advance (GBA).
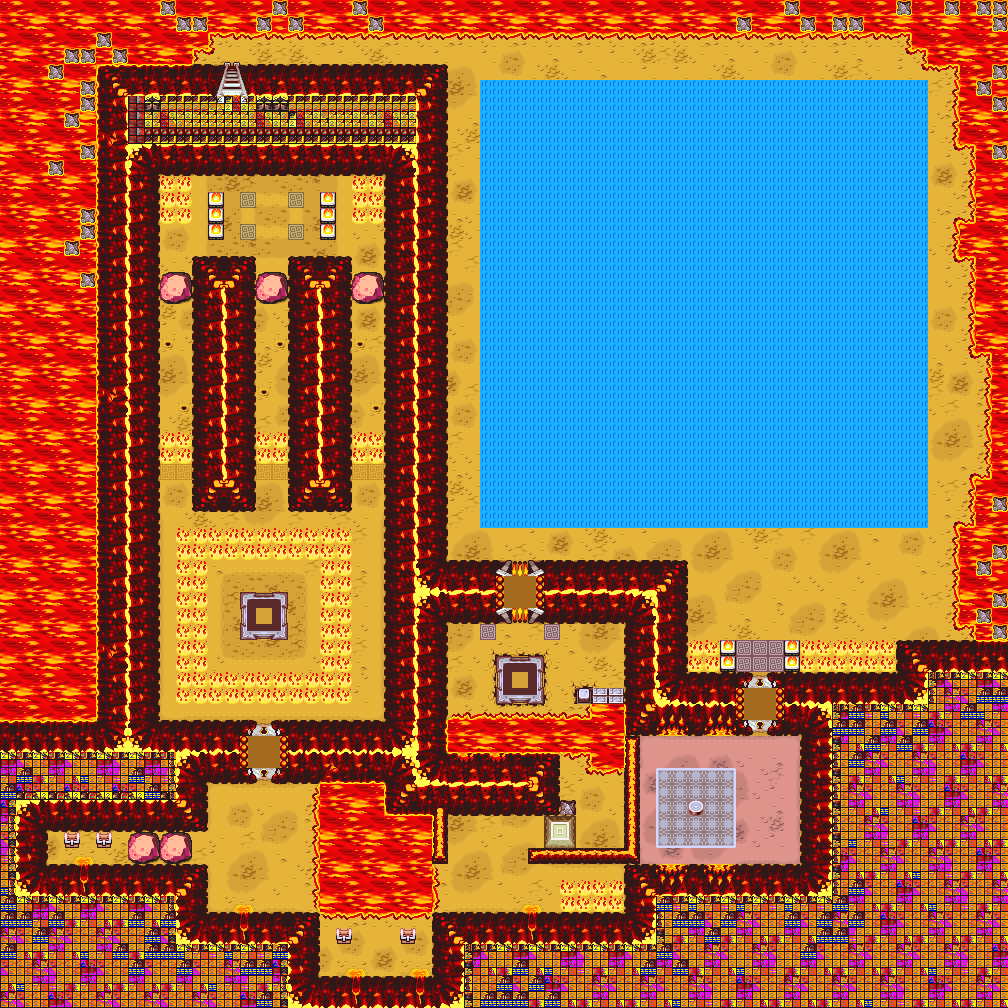
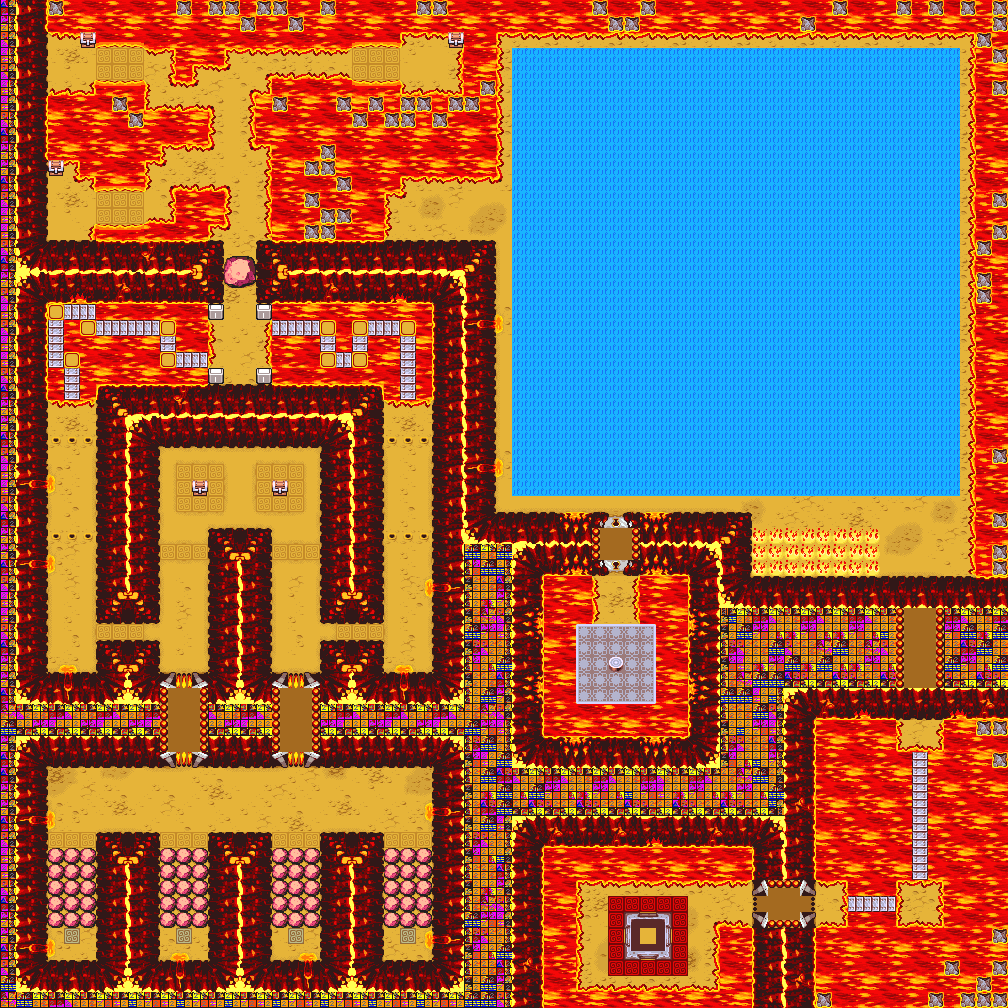
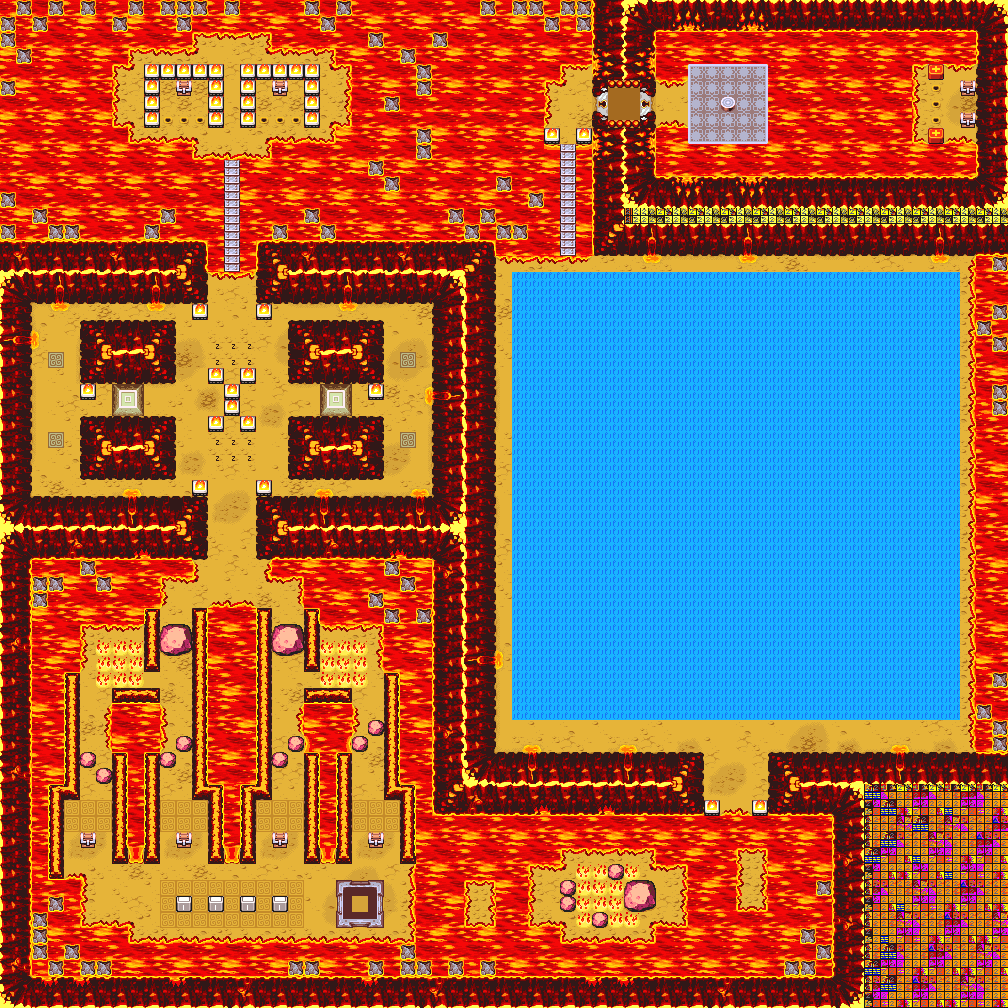
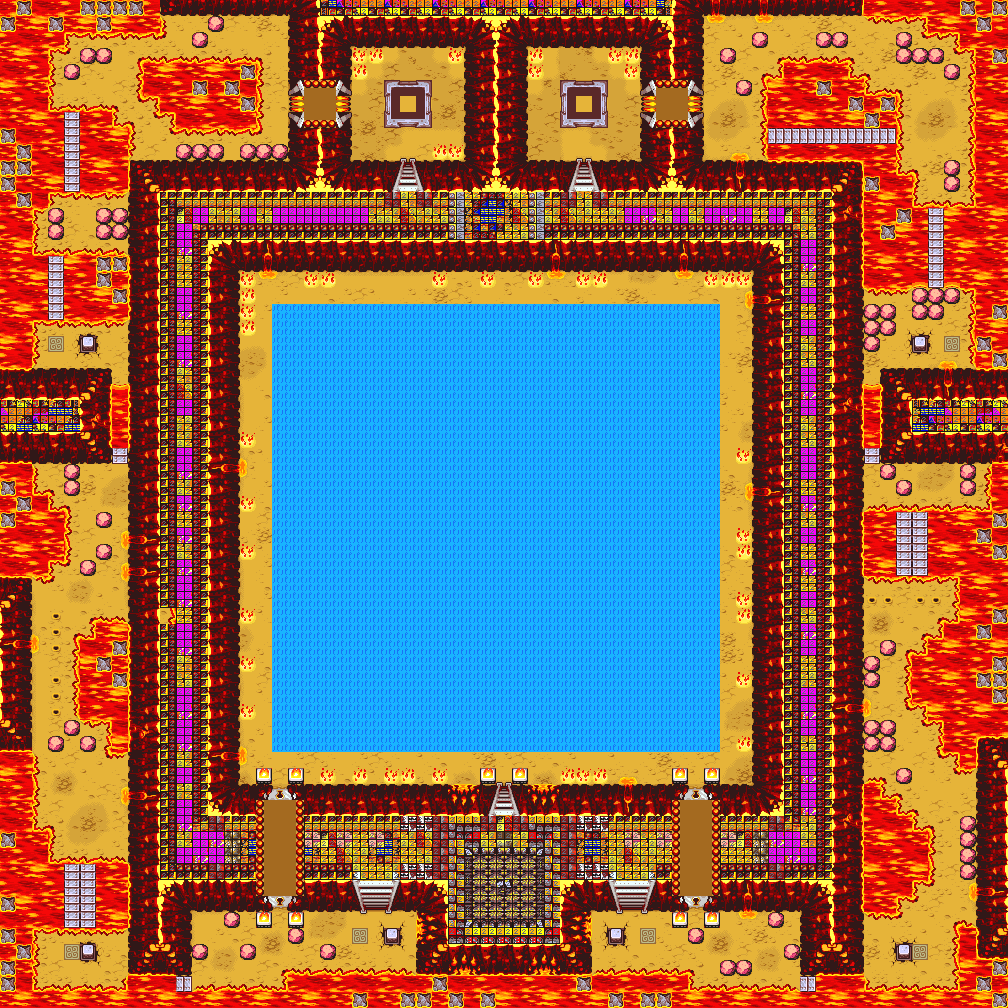
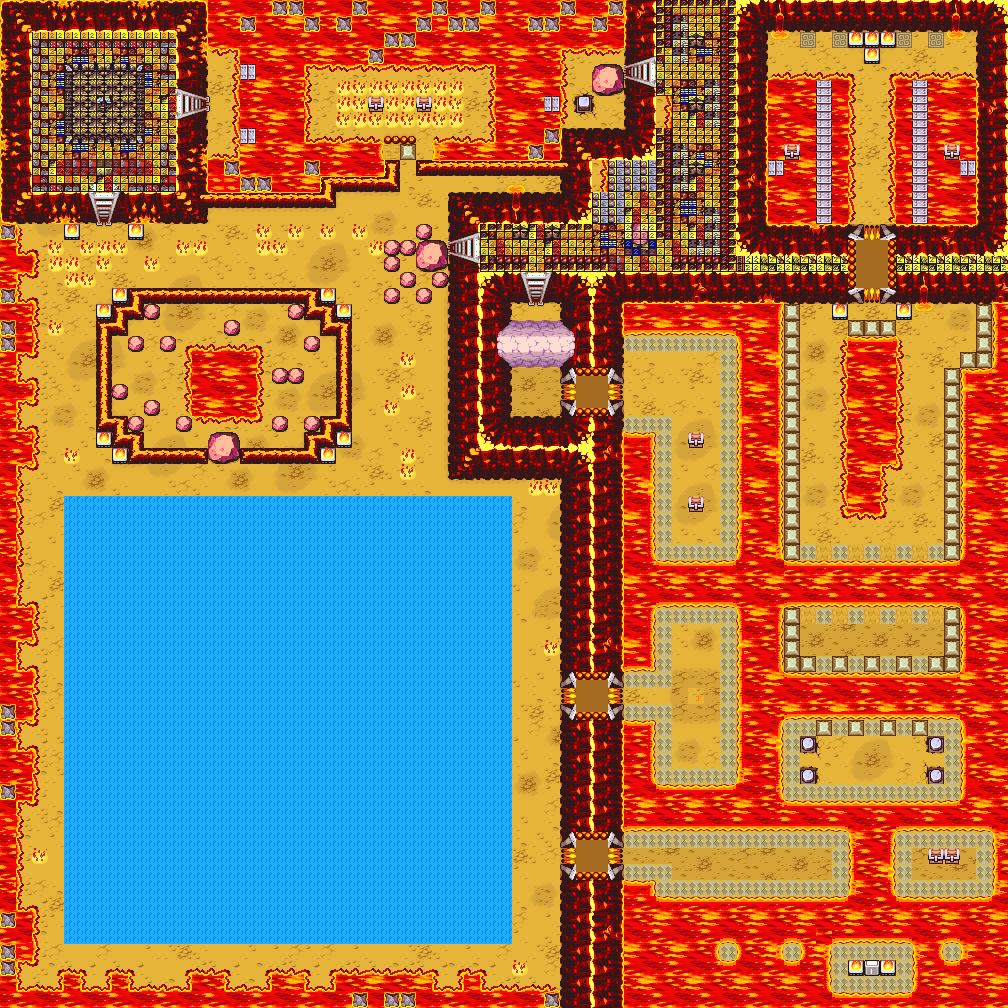
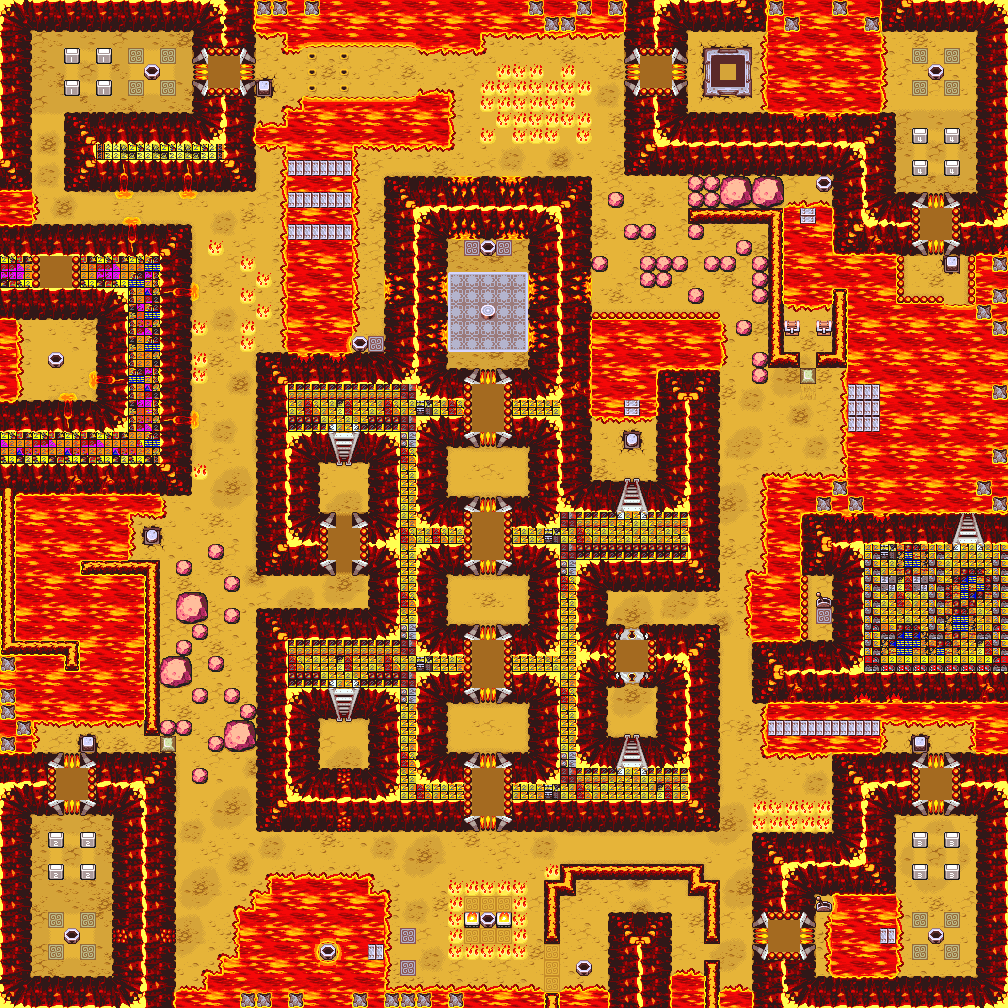
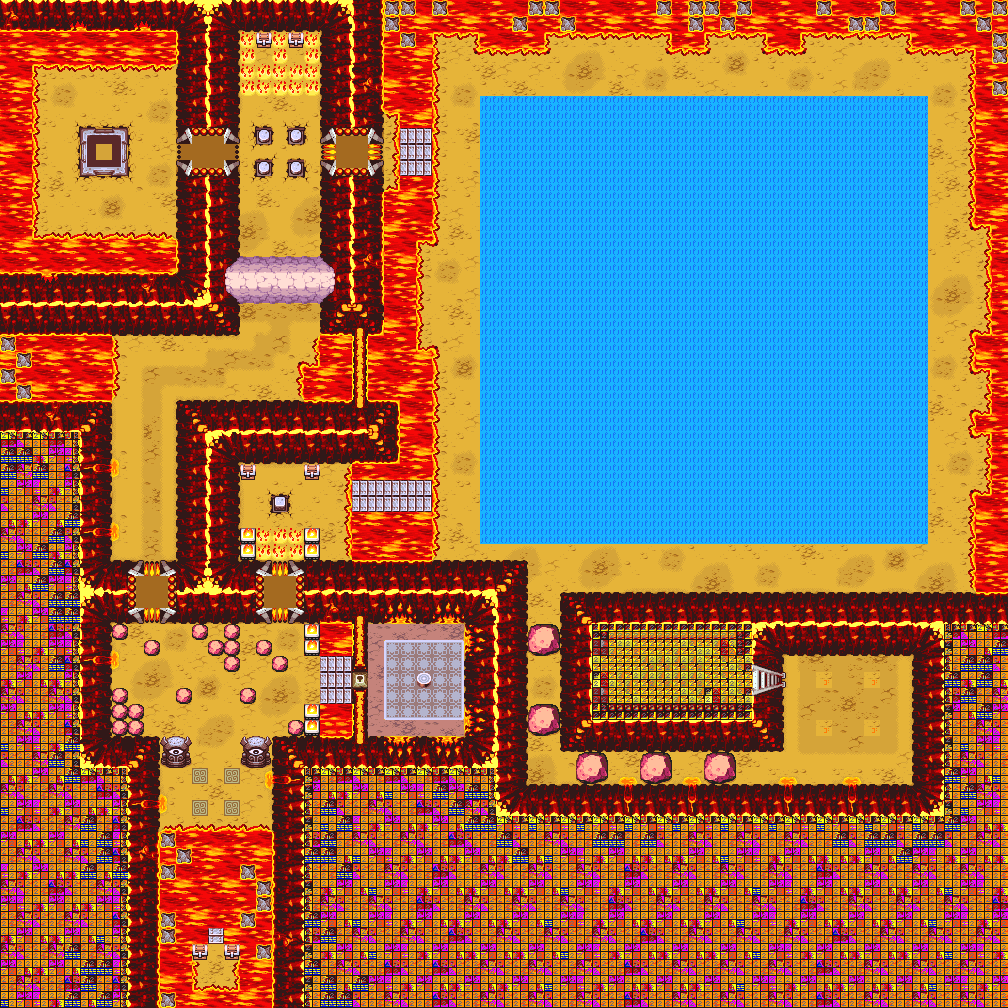
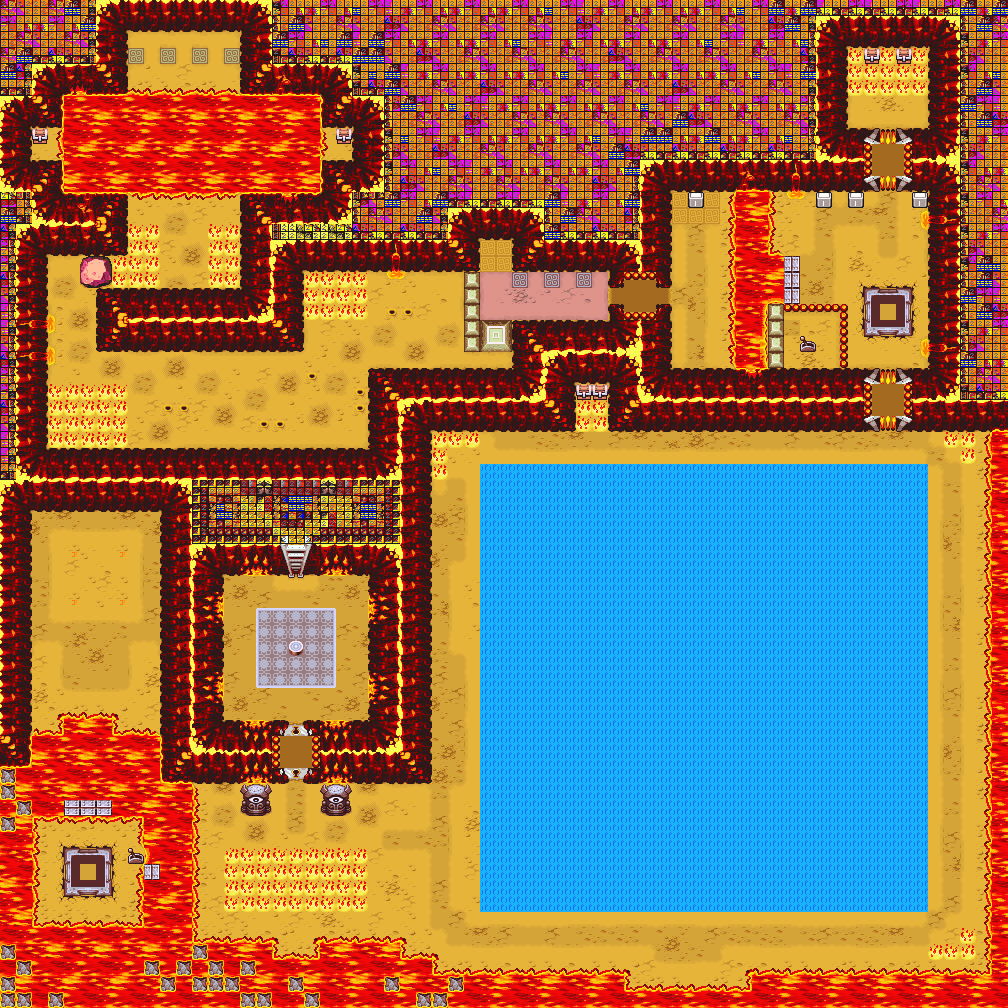
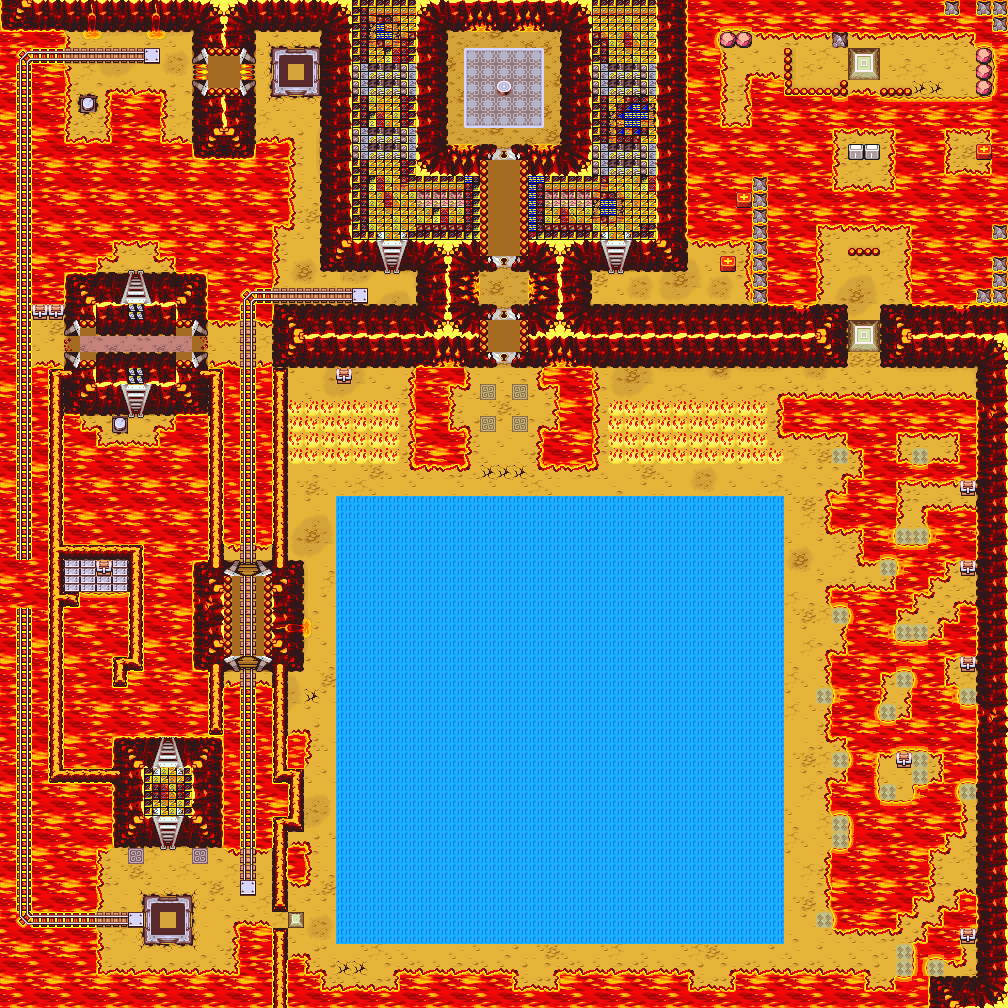
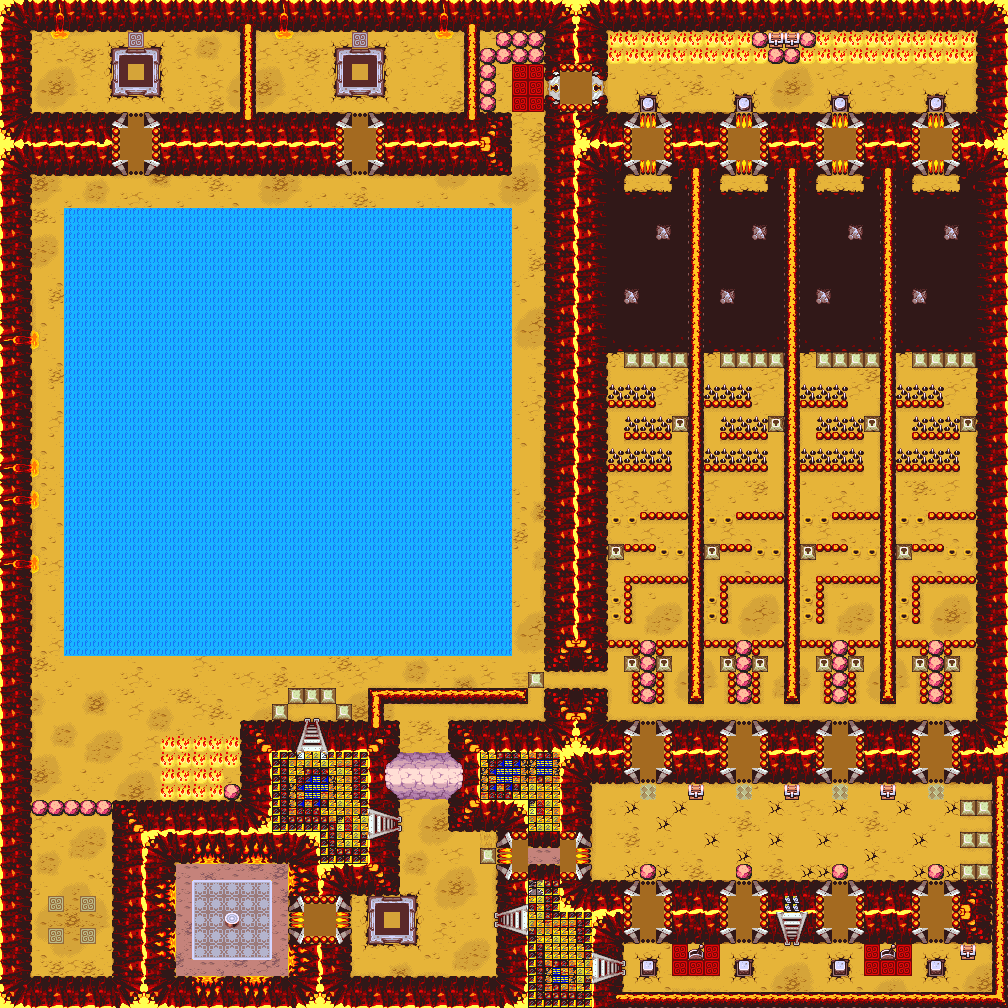
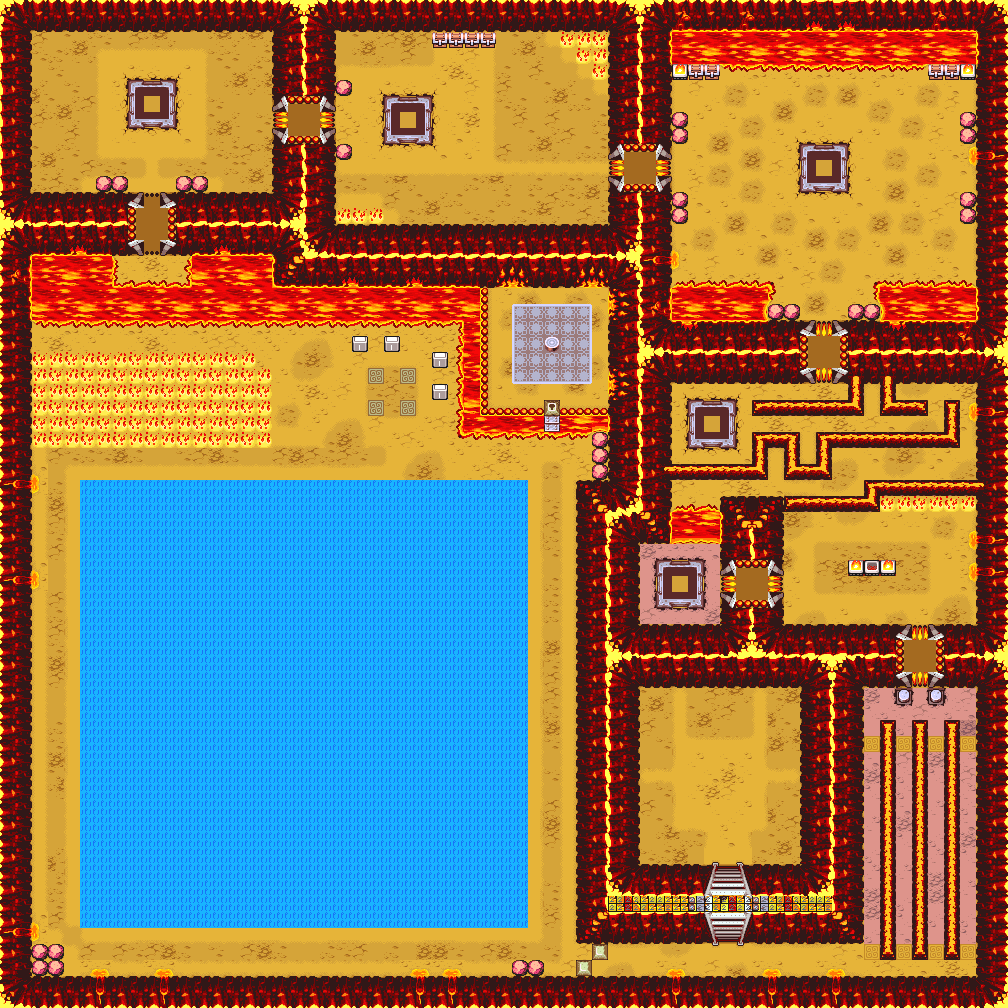
101Leafy researched the game for the maps on these pages. A stage is never the same twice: each visit is put together from the maps on that stage's page. The numbered pins on a map mark where players 1, 2, 3, and 4 start.
From the official guide
Lava lakes, fiery foes and wicked dungeons—the evils within the mountain are legion. Every trip to its inferno turns up the heat even more, so check out some searing examples of the tortures in store before you dare enter Death Mountain.
Death Mountain holds some of the most vile challenges on the mainland. It also holds some major riches, some of which adventurers can hoard if they're willing to blaze a trail, get ahead and play in the most cutthroat way possible. Death Mountain pushes teamwork to the breaking point. But consider how far you're willing to go—there's always a massive boulder around the next corner. And no one likes a hothead.
The critters that wear metal cones on their faces are nearly impervious to damage. Use the Magnetic Glove to pull the cone off a creature's face, then race at the creature and attack it with your sword.
If one of the Rupee-like snakes wraps a fellow player, come to the rescue—if you choose to—by hacking at the snake with your sword. After freeing your teammate, run for safety if the snake survives.
Maps
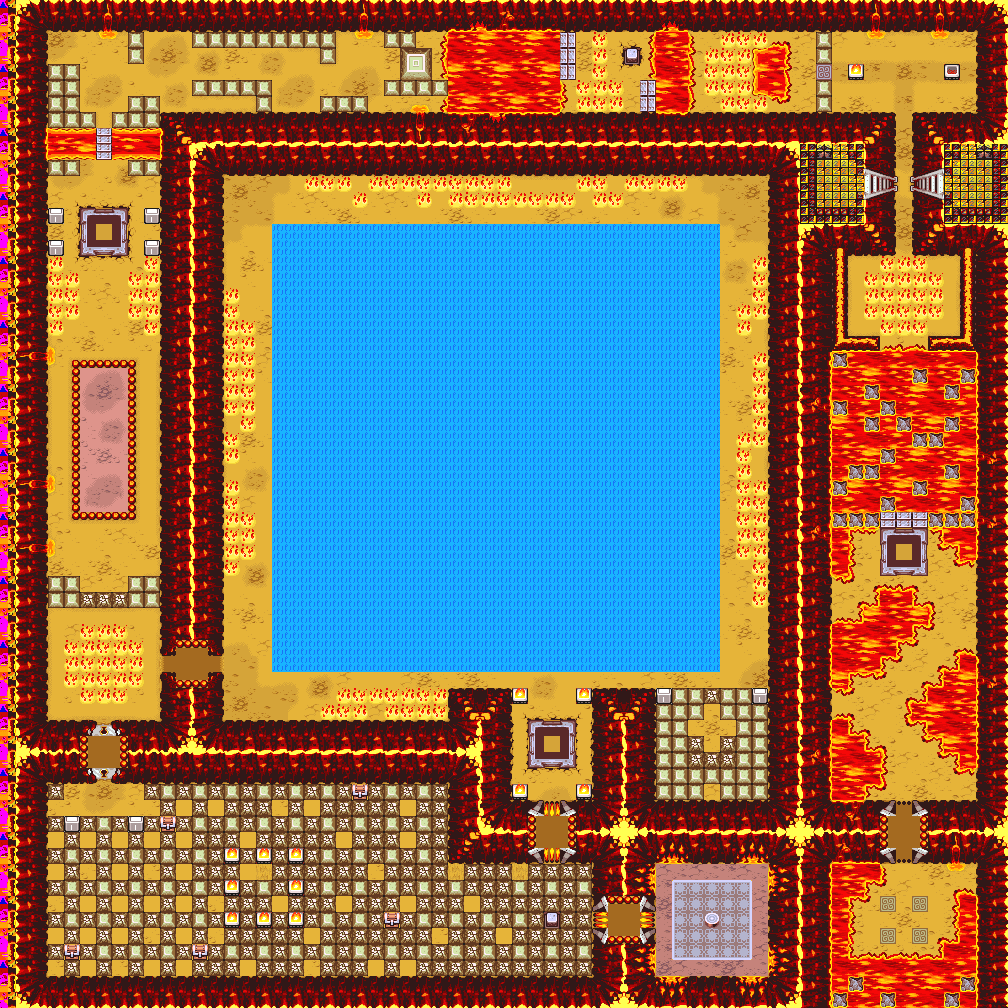
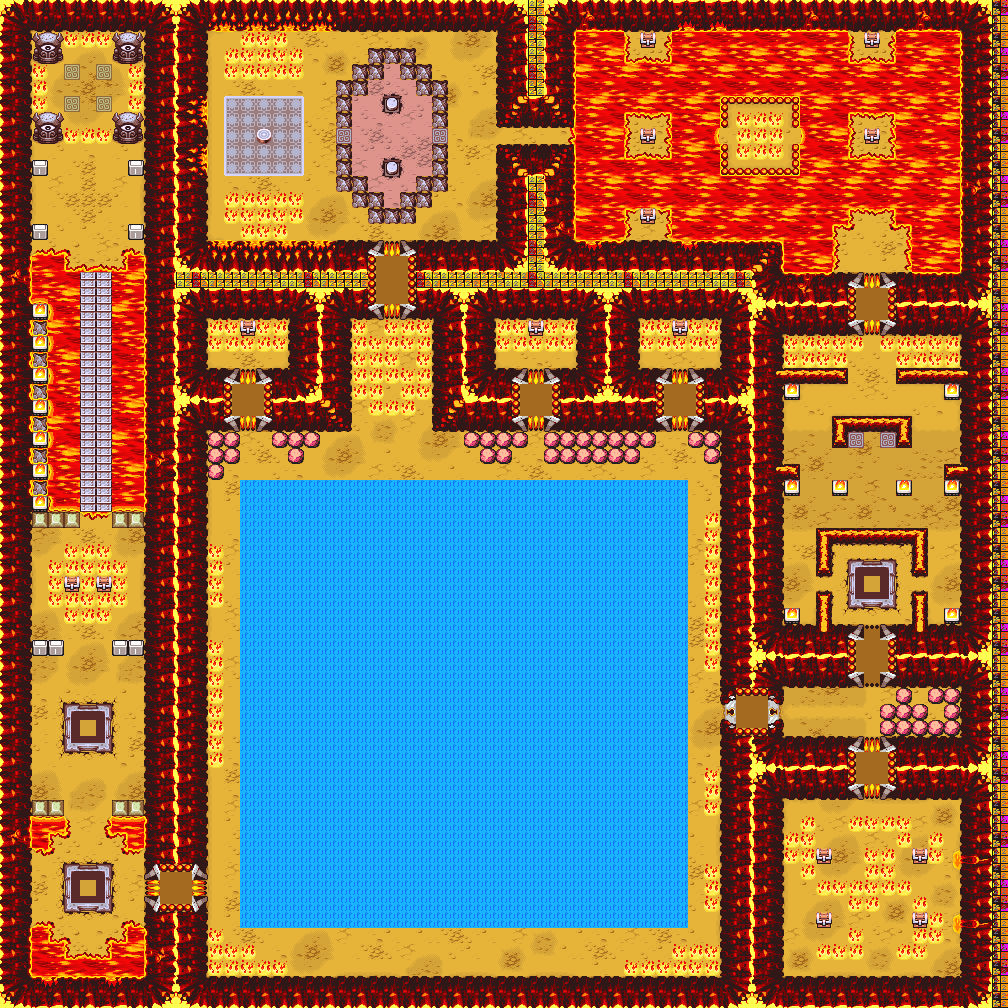
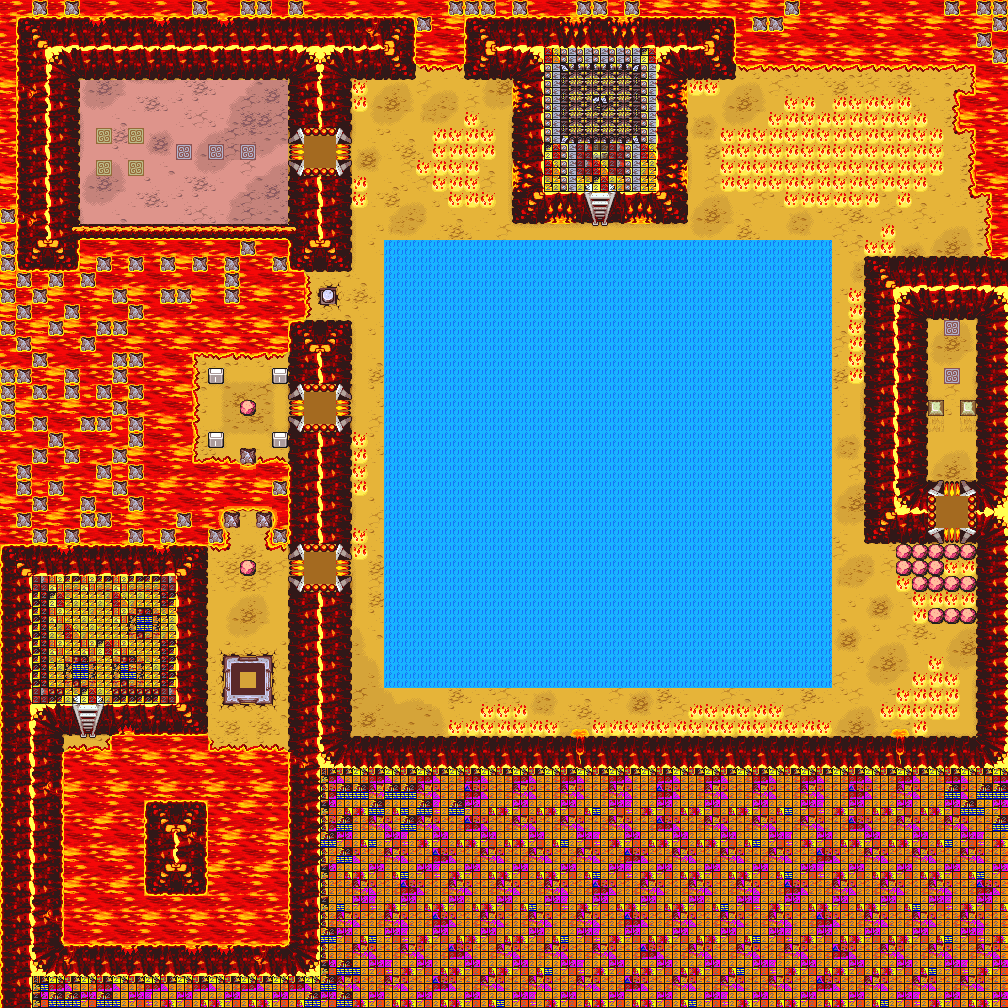
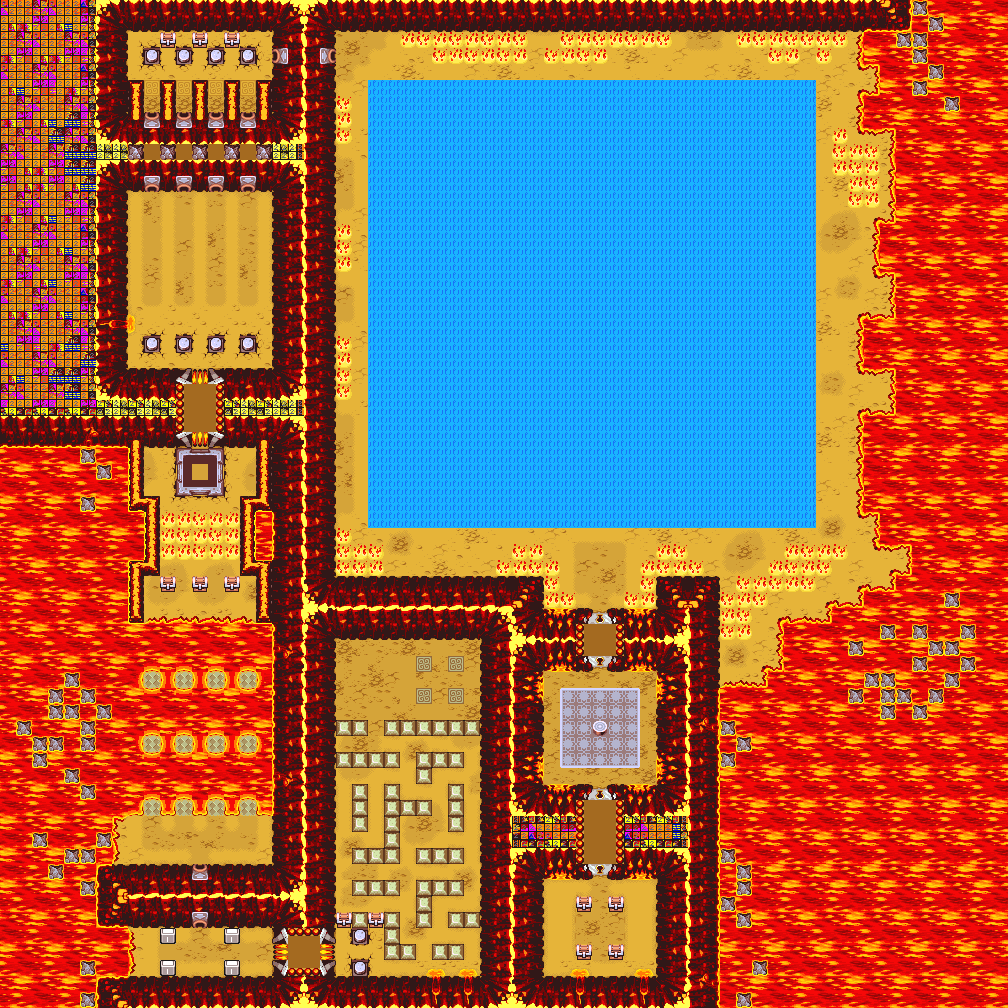
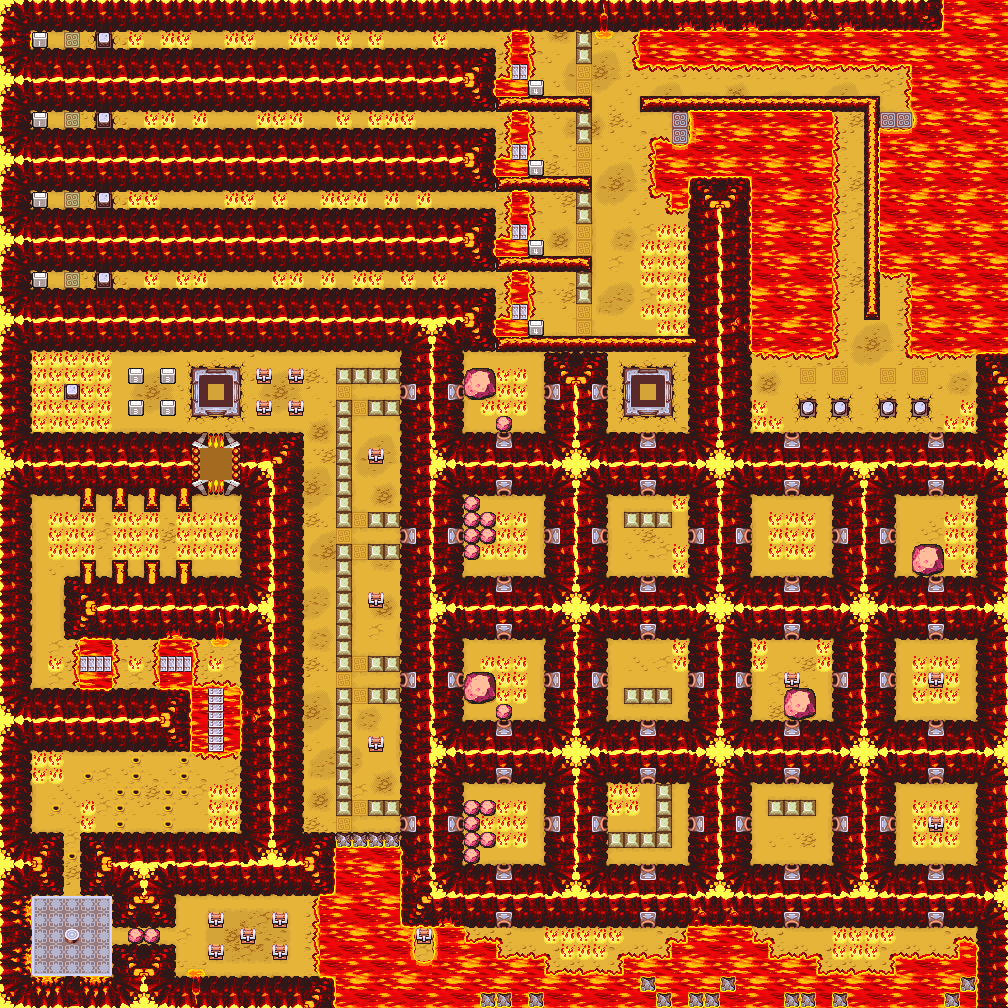
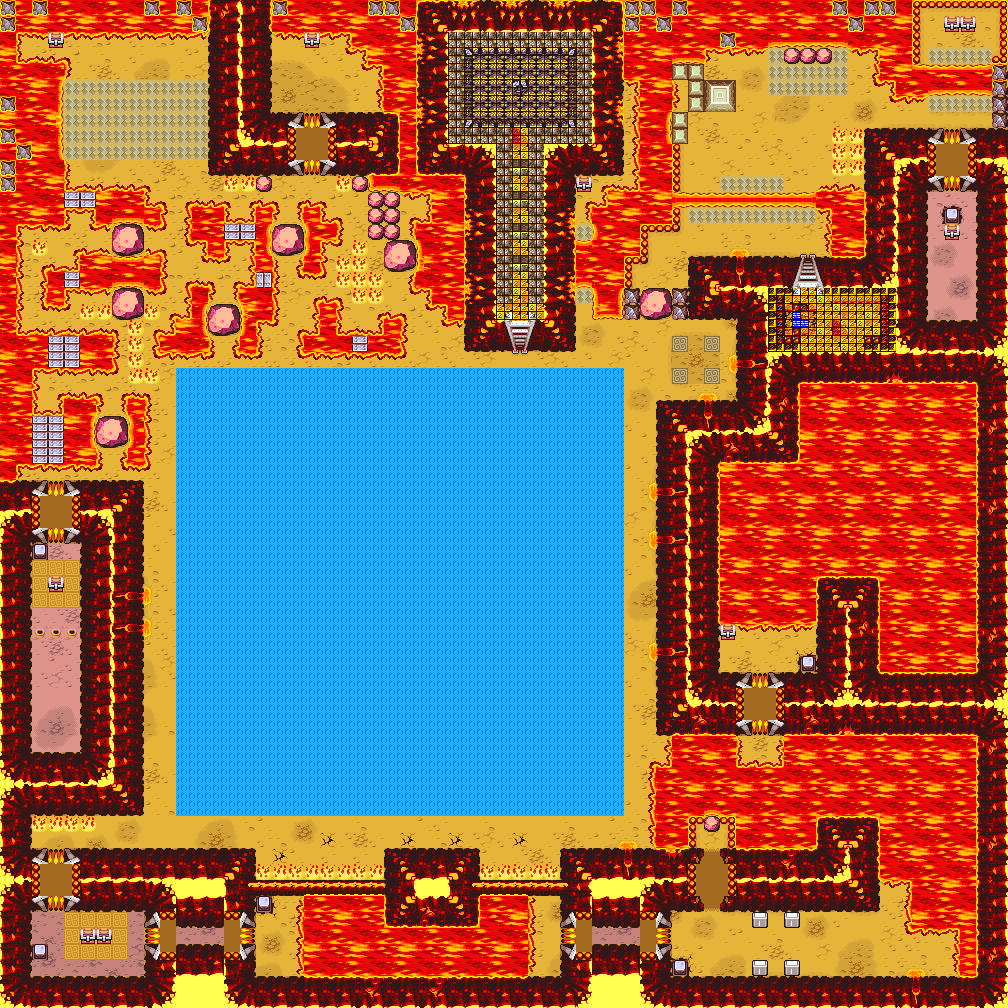
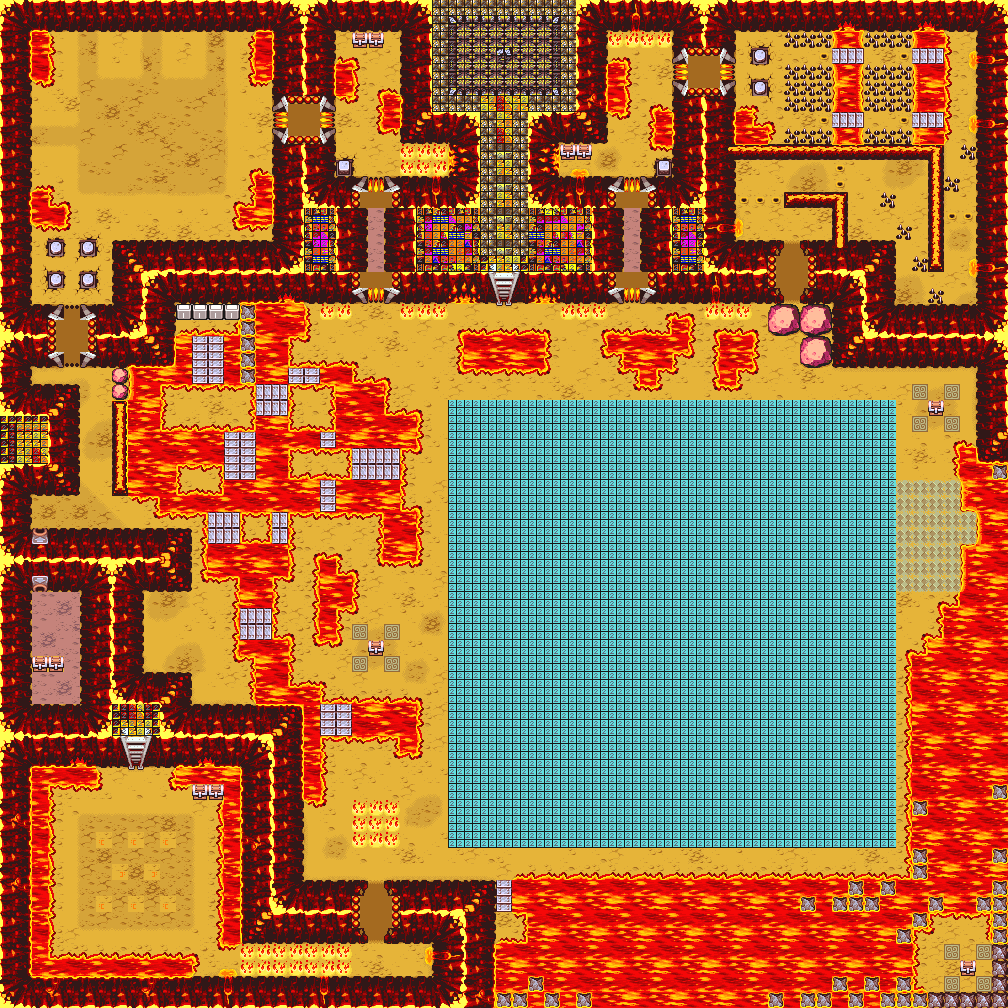
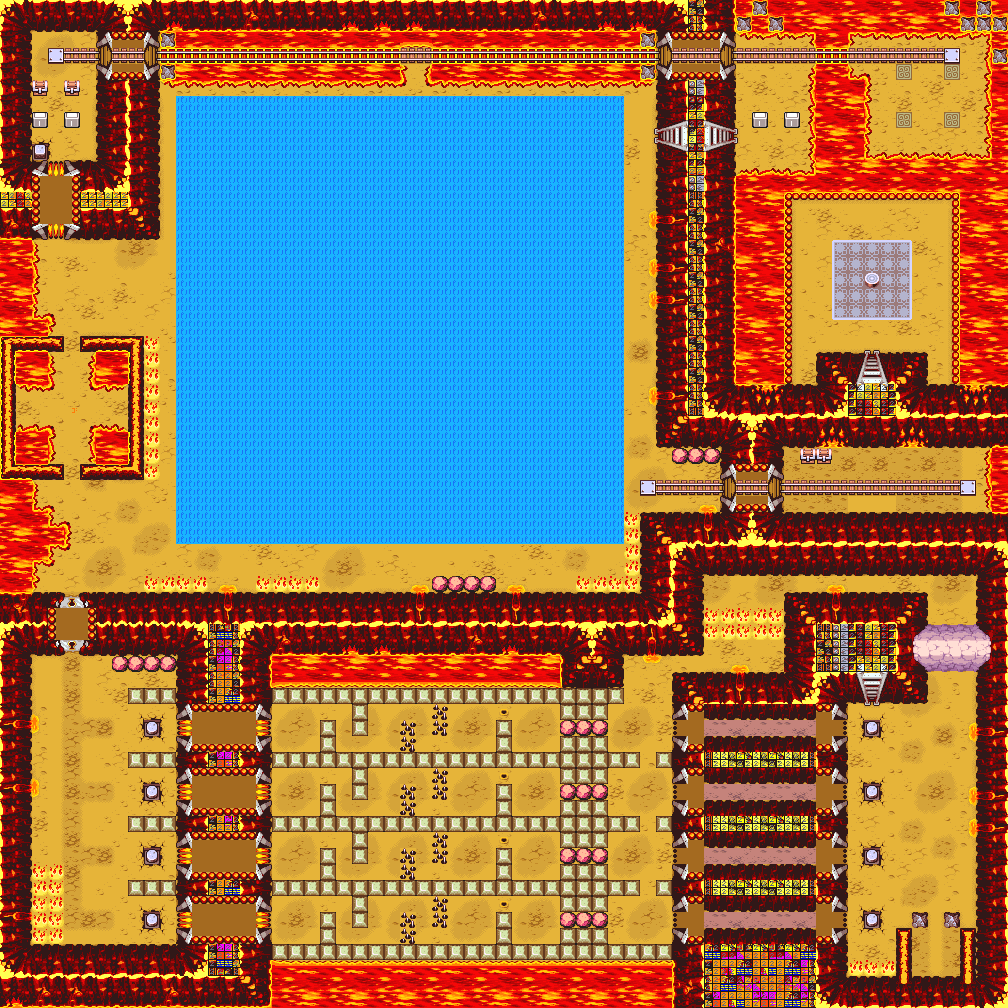
Enemies
101Leafy researched the game for where these enemies appear. The line under each map names the ones it can call up. Four Swords plays each stage at three levels, and some maps call up other enemies on each. Where they differ, the level is named.


Fairy fountain
The room of the Great Fairy in Death Mountain.
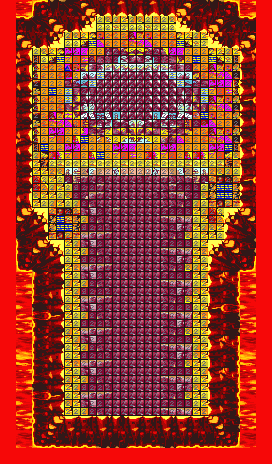
Boss room
The boss at the end of Death Mountain. Death Mountain Boss